Monday, December 17, 2012
Tutorial: Pillow Case Dress
This tutorial is for a size small 2/4 dress. Measurements for other sizes at the end of this tutorial.
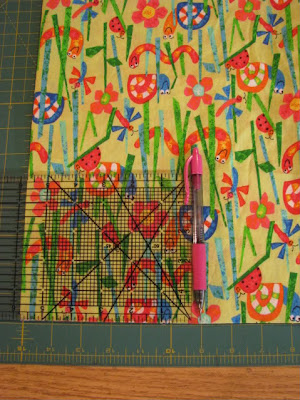
Cut 19 inches of fabric and fold in half Fold to Selvage: (note: your fabric piece is now 44 x 19 and actually folded in fourths)
Measure from the fold over six inches and mark
Measure down five inches and over another two
Using these marks draw a "J" shape for the armholes
From the end of the "J" draw a diagonal line to the cut end of the fabric
Cut
Measure 20 inches from the top edge at an angle to the bottom edge, mark to cut off edge of corner to make skirt gently rounded and even
Like so
You should have two pieces that look like this
Now begins the construction. Place right sides together and sew the side seams. I use a serger, you can use a sewing machine also. You can see I serged the very top also. If you are not using a serger, just ignore this part of the photo. :)
Next sew binding on the armholes. You may use single fold bias tape, double fold bias tape or you may make your own from the same or coordinating fabric. In the example I am using single fold bias tape.
Stitch in the fold nearest the cut edge.
Finished it will look like this
Now you have two options. You can fold the entire bias tape to the inside and top stitch
Or you can fold the bias in half and topstitch which is what I did for this dress
Next sew the casings, make them about half the width of the ribbon you will be using. As I serged this edge I just folded it to the needed width. If you are using a sewing machine, make a narrow fold and then a larger one to accommodate your ribbon.
Now press
See how neat the bindings look after they are pressed?
Thread the ribbon through the casings
Seal the cut edge of the ribbon by either using Fray Check or clear nail polish or heat sealing with a cigarette lighter
VOILA! All done!
Subscribe to:
Post Comments (Atom)


No comments:
Post a Comment